As curious programmers we always want to learn more about the environment we work in — knowledge is everything in our field and often curiosity drives us. I imagine I wasn’t the only one who, while at work running a job in Jenkins, wondered: how does this actually work? How can I replicate this at home? And above all, “it would be useful for my personal projects.”
With that idea in mind I started researching and decided to set up my own homelab as if it were a corporate environment.
Hardware
For hardware we obviously need at least a machine with certain characteristics:
- 8 cores
- 16 GB of RAM
- 256 GB SSD
Knowing this, I decided to go with an option I’ve heard about from several IT YouTubers: using cheap Chinese motherboards with second-hand Xeon processors. On AliExpress you can find some “combo” packs with RAM and the processor at good prices.
In my case I chose Huananzhi motherboards, which seem to have the best quality. Specifically the x99 model in a pack with 16GB of RAM and an 8-core Xeon E5 v3.
I also dusted off my old AMD computer with an 8-core CPU and 32GB of RAM and added it to the homelab.
Operating system
Since we have reasonably powerful hardware it’s not recommended to dedicate a single machine per service — it would be too expensive. That’s why virtualized servers are used even in corporate environments: you create multiple virtual machines on a single host and each VM runs the corresponding service.
I chose Proxmox, which is an operating system that allows creating virtual machines and containers on a single host and is managed from the browser (Web Admin).
The ISO can be found on the Proxmox official site: https://www.proxmox.com/en/products/proxmox-virtual-environment/overview. It’s a Debian-based system focused on virtualization with both containers (LXC) and virtual machines (KVM).
Services
In our case we’ll set up a complete environment to have CI; CD we’ll leave for later with Kubernetes. Therefore we’ll have:
- GitLab: for hosting our code repositories.
- Jenkins: for task automation.
- Nexus Repository: to store artifacts.
- Nextcloud: for private cloud storage.
- Pi-hole: for DNS and DHCP.
- WireGuard + WireGuard Web UI: for VPN.
- Samba Active Directory: for a centralized directory.
Active Directory with Samba AD/DC
Installation and Domain Role
Samba allows implementing a domain controller compatible with Active Directory. We’ll create a virtual machine in Proxmox for Samba; it doesn’t need many resources — 2 cores and 4 GB of RAM are enough.
Once the VM is created we can access the console via the Proxmox web UI or by SSH (SSH is more convenient).
On the VM run:
apt install samba krb5-config winbind smbclient
samba-tool domain provision --use-rfc2307 --interactive
It will ask a series of questions:
- Domain:
lab.localor whatever you prefer - Realm:
LAB.LOCALor whatever you prefer (always uppercase) - Role: DC
- DNS backend: SAMBA_INTERNAL
- DNS forwarder: your router’s IP or Google
8.8.8.8 - Administrator password: choose one
Note: If you’re using Pi-hole as internal DNS, it should be the
DNS forwarder.
Then:
systemctl disable smbd nmbd winbind
systemctl enable samba-ad-dc
systemctl start samba-ad-dc
With that we should have Samba running. Later we’ll see how to create users and groups to manage our services.
Benefits in the Homelab
- Centralized authentication
- User and group management
- Preparation for future LDAP integration
- Simulation of a real corporate environment
Internal DNS and DHCP with Pi-hole
If we’re normal people we prefer to access services by domain rather than IP, so our homelab needs an internal DNS server to resolve service domains.
For this we chose Pi-hole, a DNS server that can block ads and malicious domains and allows adding custom DNS records.
In our case we assign it a dual role:
- Internal DNS
- DHCP: because we want to create an A-type network and our provider’s router doesn’t allow it.
Installation
We’ll create a VM in Proxmox for Pi-hole; it doesn’t need many resources — 2 cores and 2/4 GB of RAM is sufficient. Install Debian as the base OS on the VM.
For installation follow the official guide: https://docs.pi-hole.net/main/basic-install/.
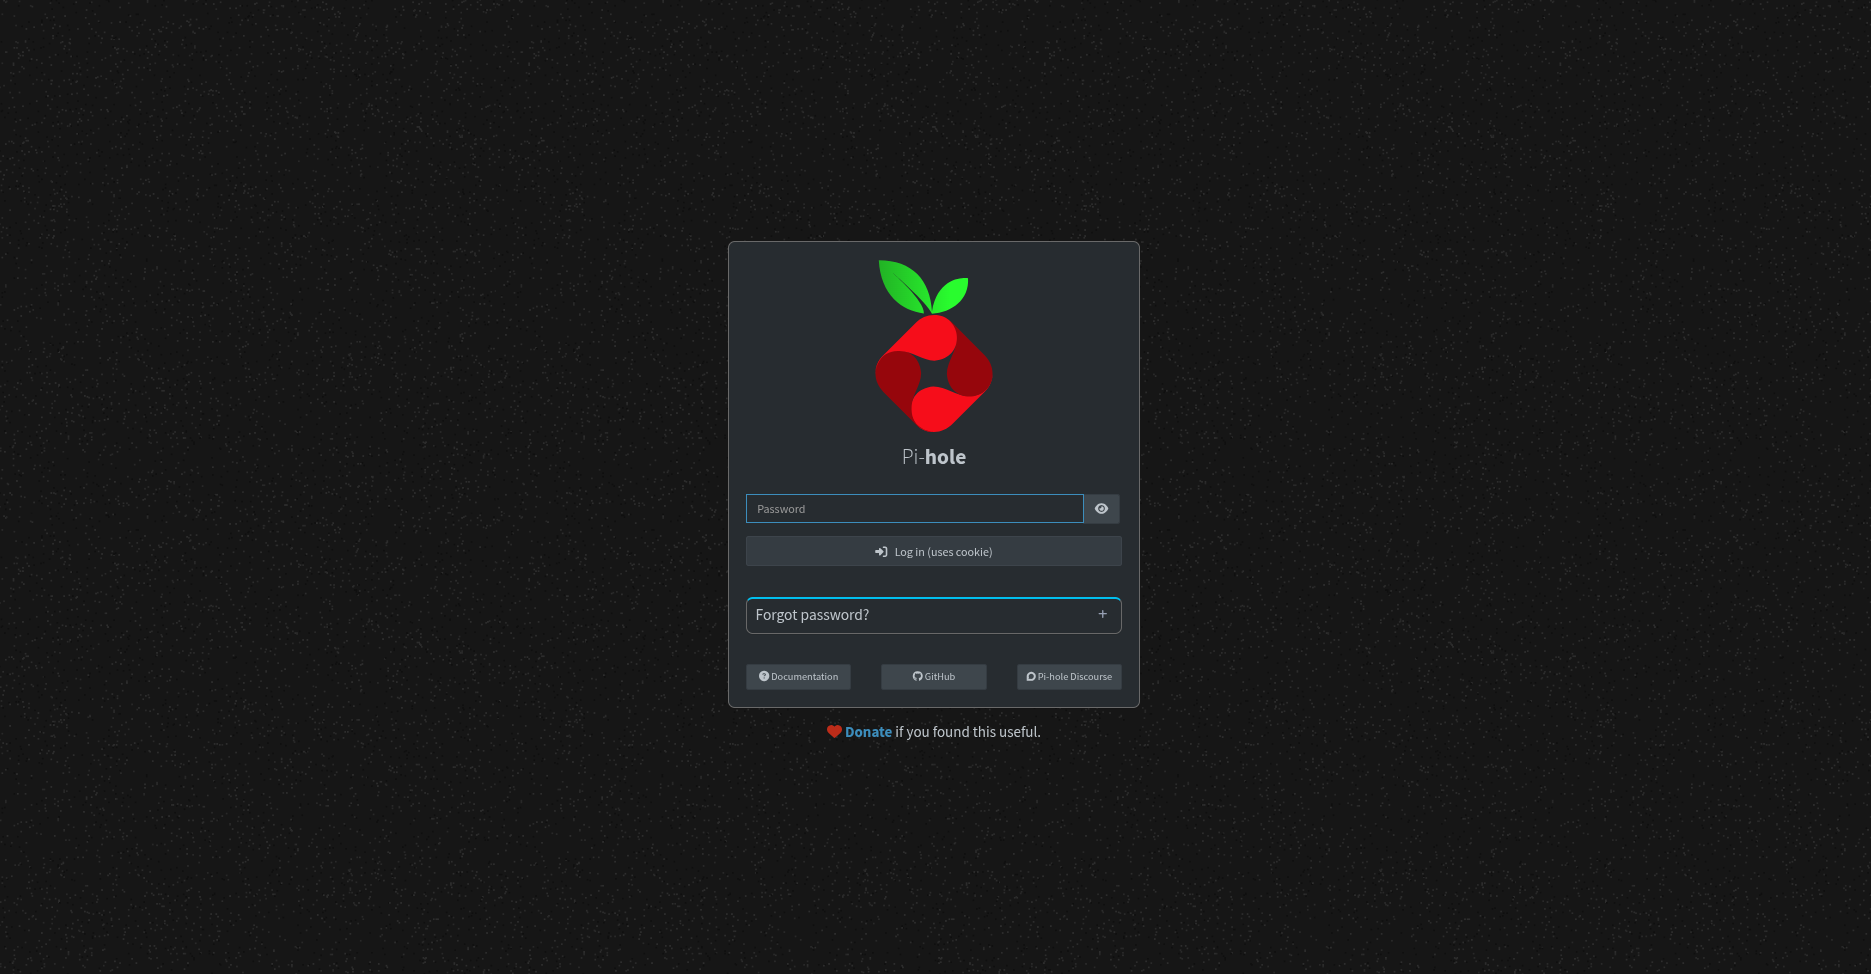
Once installed you can access the web interface at http://[IP_ADDRESS]/admin. The admin login screen will show where to find the admin password.
Internal DNS Configuration
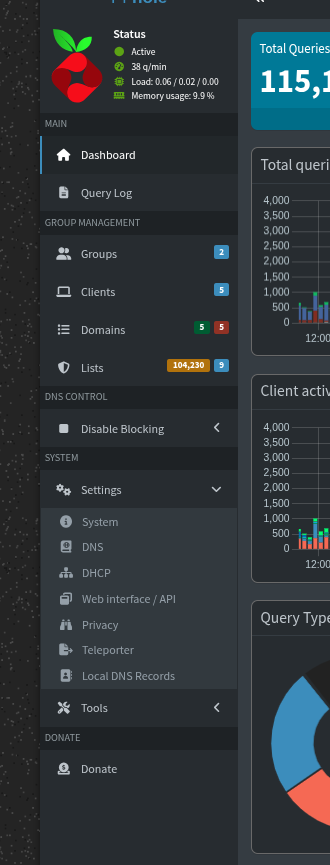
After logging into the Pi-hole admin panel we can configure internal DNS records to assign FQDNs to our services. Go to Settings -> Local DNS Records in the left panel.
You’ll see an empty list of DNS records where you can add records in the form below.
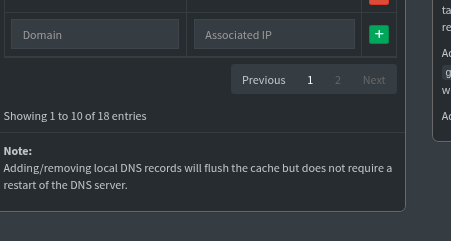
In the form we’ll put the domain and the corresponding IP, for example:
| Service | Internal IP | DNS Record |
|---|---|---|
| AD | 10.10.10.10 | ad.lab.local |
| GitLab | 10.10.10.20 | git.lab.local |
| Jenkins | 10.10.10.21 | jenkins.lab.local |
| Nexus | 10.10.10.22 | nexus.lab.local |
| Nextcloud | 10.10.10.23 | cloud.lab.local |
| WireGuard | 10.10.10.30 | vpn.lab.local |
DHCP from Pi-hole
Pi-hole can run a DHCP server to assign network settings to devices on our local network. Why is this useful?
Our local network is usually managed by the ISP router, which:
- Provides WAN (internet) access
- Assigns IPs to devices
- Configures DNS for new devices
The DNS configuration is provided in the router’s DHCP response. The router typically sets ISP DNS servers; since we want devices to use our Pi-hole DNS (with ad blocking), we could set static DNS per device, but that breaks when we leave the network. Therefore we enable Pi-hole’s DHCP and disable the router’s DHCP so the Pi-hole hands out the DNS server address during provisioning.
To enable it go to Settings -> DHCP in the Pi-hole admin panel and set the IP range, router address, and enable DHCP.
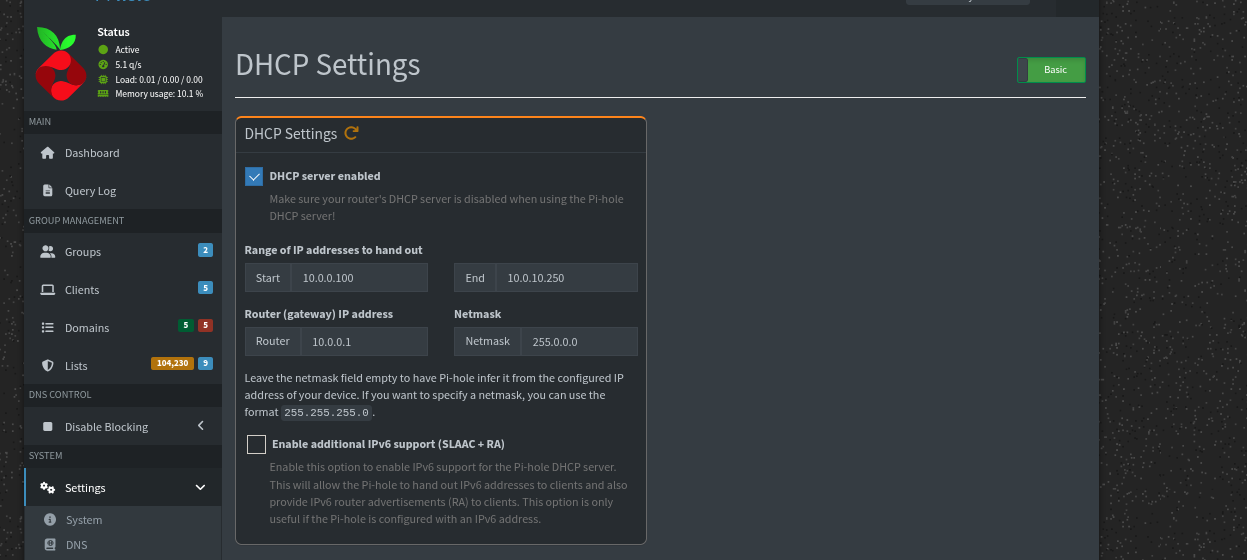
This ensures all devices use the homelab DNS.
GitLab: Code Control and DevOps
GitLab is widely used in development for source control and pipeline management. Its group organization makes working with multiple repositories easier (one of the main reasons it’s used in enterprises).
Installation
GitLab can be deployed with the Omnibus package on a dedicated VM. GitLab has higher requirements:
- 2 cores
- More than 4GB of RAM
- Disk space limits the number of repositories you can host.
GitLab can connect to PostgreSQL and Redis for caching; depending on load you may need more resources. In my setup I deployed everything on the same VM.
Use the Omnibus package:
apt install curl openssh-server ca-certificates
curl --location "https://packages.gitlab.com/install/repositories/gitlab/gitlab-ce/script.deb.sh" | sudo bash
sudo apt install gitlab-ce
Note: You can pass the
EXTERNAL_URLenv var to set GitLab’s external URL:sudo EXTERNAL_URL="http://git.lab.local" apt install gitlab-ce.
If you didn’t set the env var, edit /etc/gitlab/gitlab.rb:
# file: /etc/gitlab/gitlab.rb
# Change the URL
external_url "http://git.lab.local"
Then apply changes:
gitlab-ctl reconfigure
Jenkins: Internal CI/CD
Jenkins is a continuous integration and deployment server that automates build and deploy processes, reducing integration and deployment time.
Jenkins needs at least 4GB of RAM and more than 50GB of disk.
Installation
Deploy Jenkins in a separate VM; you’ll also need Java for Jenkins to run. Use Ubuntu/Debian guides on the official site: https://www.jenkins.io/download/.
# Install Java (version 21 or latest)
apt install openjdk-21-jre

# Add Jenkins repository
sudo wget -O /etc/apt/keyrings/jenkins-keyring.asc https://pkg.jenkins.io/debian-stable/jenkins.io-2026.key
echo "deb [signed-by=/etc/apt/keyrings/jenkins-keyring.asc] https://pkg.jenkins.io/debian-stable binary/" | sudo tee /etc/apt/sources.list.d/jenkins.list > /dev/null
sudo apt update
sudo apt install jenkins
Access Jenkins at:
http://jenkins.lab.local:8080
Nexus Repository
Nexus is a repository manager for:
- Maven artifacts
- Docker images
- NPM
- Python (pip)
- NuGet
It’s useful to centrally manage dependencies, especially internal ones.
Installation
Create a Debian VM with 2 cores and 4GB RAM for Nexus. Download the Nexus archive from the official site and extract it.
wget -O nexus.tar.gz <URL>
tar -xvf nexus.tar.gz
./nexus/bin/nexus start
You can create a systemd service for automatic startup:
[Unit]
Description=Nexus Repository Manager
After=network.target

[Service]
Type=forking
ExecStart=/opt/nexus/bin/nexus start
ExecStop=/opt/nexus/bin/nexus stop
User=nexus
Group=nexus
Restart=on-failure

[Install]
WantedBy=multi-user.target
Access Nexus at:
nexus.lab.local:8081
Nextcloud: Private Storage
Nextcloud is a personal productivity suite giving full control over your data: files, calendars, contacts, tasks, etc. It also supports apps like:
- Video conferencing
- Project management
- Password management
- LDAP integration
Installation
For Nextcloud create another VM and allocate resources based on usage. You’ll need MariaDB/MySQL and an HTTP server (Apache or Nginx). Apache is simpler out of the box; Nginx requires extra PHP setup.
Nextcloud offers several installation methods:
- Web Installer — place a PHP installer and run from the browser
- Archive — unzip files into your web directory
- Snap package — install via snap
- Docker image — run Nextcloud in a container
I chose the web installer which asks for MariaDB credentials and downloads required files.
Access Nextcloud at:
http://cloud.lab.local
Secure Exposure with DuckDNS and WireGuard
The whole environment wouldn’t make sense if we couldn’t access it from outside the network. We can create a VPN quickly and cheaply like companies do.
DuckDNS (DDNS)
The first problem is that the public IP assigned by the ISP is usually dynamic. That means it can change periodically, so we can’t rely on a static public IP. DDNS services allow a subdomain to point to our public IP and provide an API to update it.
DuckDNS (https://duckdns.org) provides subdomains like mydomain.duckdns.org.
Using a cron job or the dux-updater tool (my own tool: https://github.com/Marck-G/dux-updater) we can keep the DDNS record updated.
Update script:
echo url="https://www.duckdns.org/update?domains=mihomelab&token=TOKEN&ip=" | curl -k -o ~/duck.log -K -
Port forwarding on the router
To forward traffic to our local network we need a port forwarding rule on the router to the WireGuard VM.
- UDP 51820 → WireGuard VM
Never expose GitLab, Jenkins, or AD directly.
WireGuard: Secure Access to the Internal Network
WireGuard provides a lightweight, secure VPN. Unlike services like Tailscale (https://tailscale.com), which limit accessible machines and users, WireGuard lets us expose the whole local network.
WireGuard installation
You can reuse an existing VM or create a new one; creating a new Debian VM from scratch is the safest option. Install WireGuard with apt:
apt install wireguard
Generate server keys:
wg genkey | tee privatekey | wg pubkey > publickey
Create a configuration for the interface.
File /etc/wireguard/wg0.conf:
[Interface]
Address = 10.10.0.1/24
ListenPort = 51820
PrivateKey = SERVER_PRIVATE_KEY

[Peer]
PublicKey = CLIENT_PUBLIC_KEY
AllowedIPs = 10.10.0.2/32
Enable forwarding on the server:
sysctl -w net.ipv4.ip_forward=1
WireGuard Web UI
To manage WireGuard more easily you can install WireGuard UI: https://github.com/ngoduykhanh/wireguard-ui — it exposes a web admin.
Installation steps:
- Download the binary from the repository
- Create a systemd unit as instructed
- Enable and start the service
This exposes a web admin on port 5000.
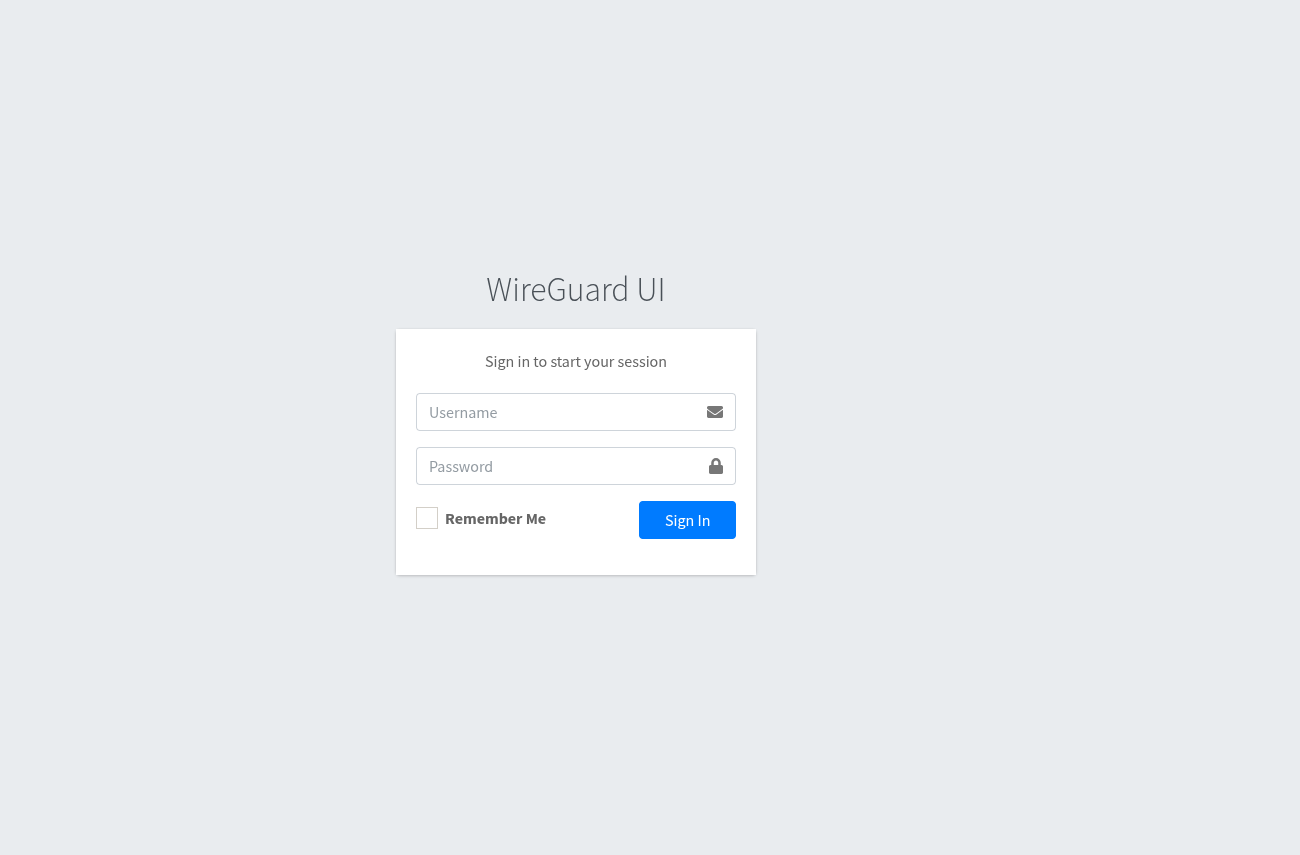
After accessing it you should set the endpoint for new clients and the DNS:
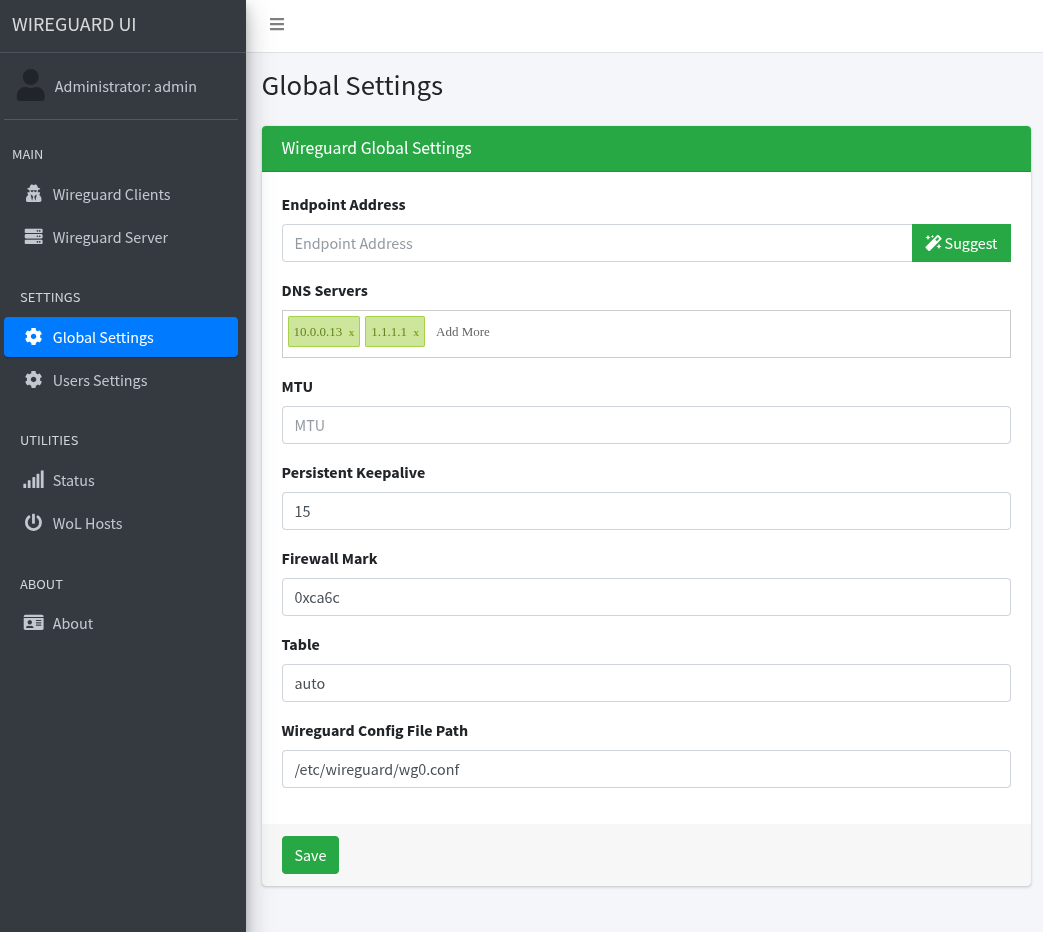
For DNS enter both the local DNS and a global DNS to ensure internet access.
Remote Access Flow
- Client connects to
mihomelab.duckdns.org - Router forwards UDP 51820 → WireGuard VM
- WireGuard assigns IP 10.10.0.x
- Client uses internal DNS (Pi-hole)
-
Access to:
- git.lab.local
- jenkins.lab.local
- cloud.lab.local
- nexus.lab.local
Access is equivalent to being physically on the local network.
Next steps
After this setup we have our homelab running; next time we’ll see how to connect everything to Active Directory via LDAP for centralized authentication.